Step #1
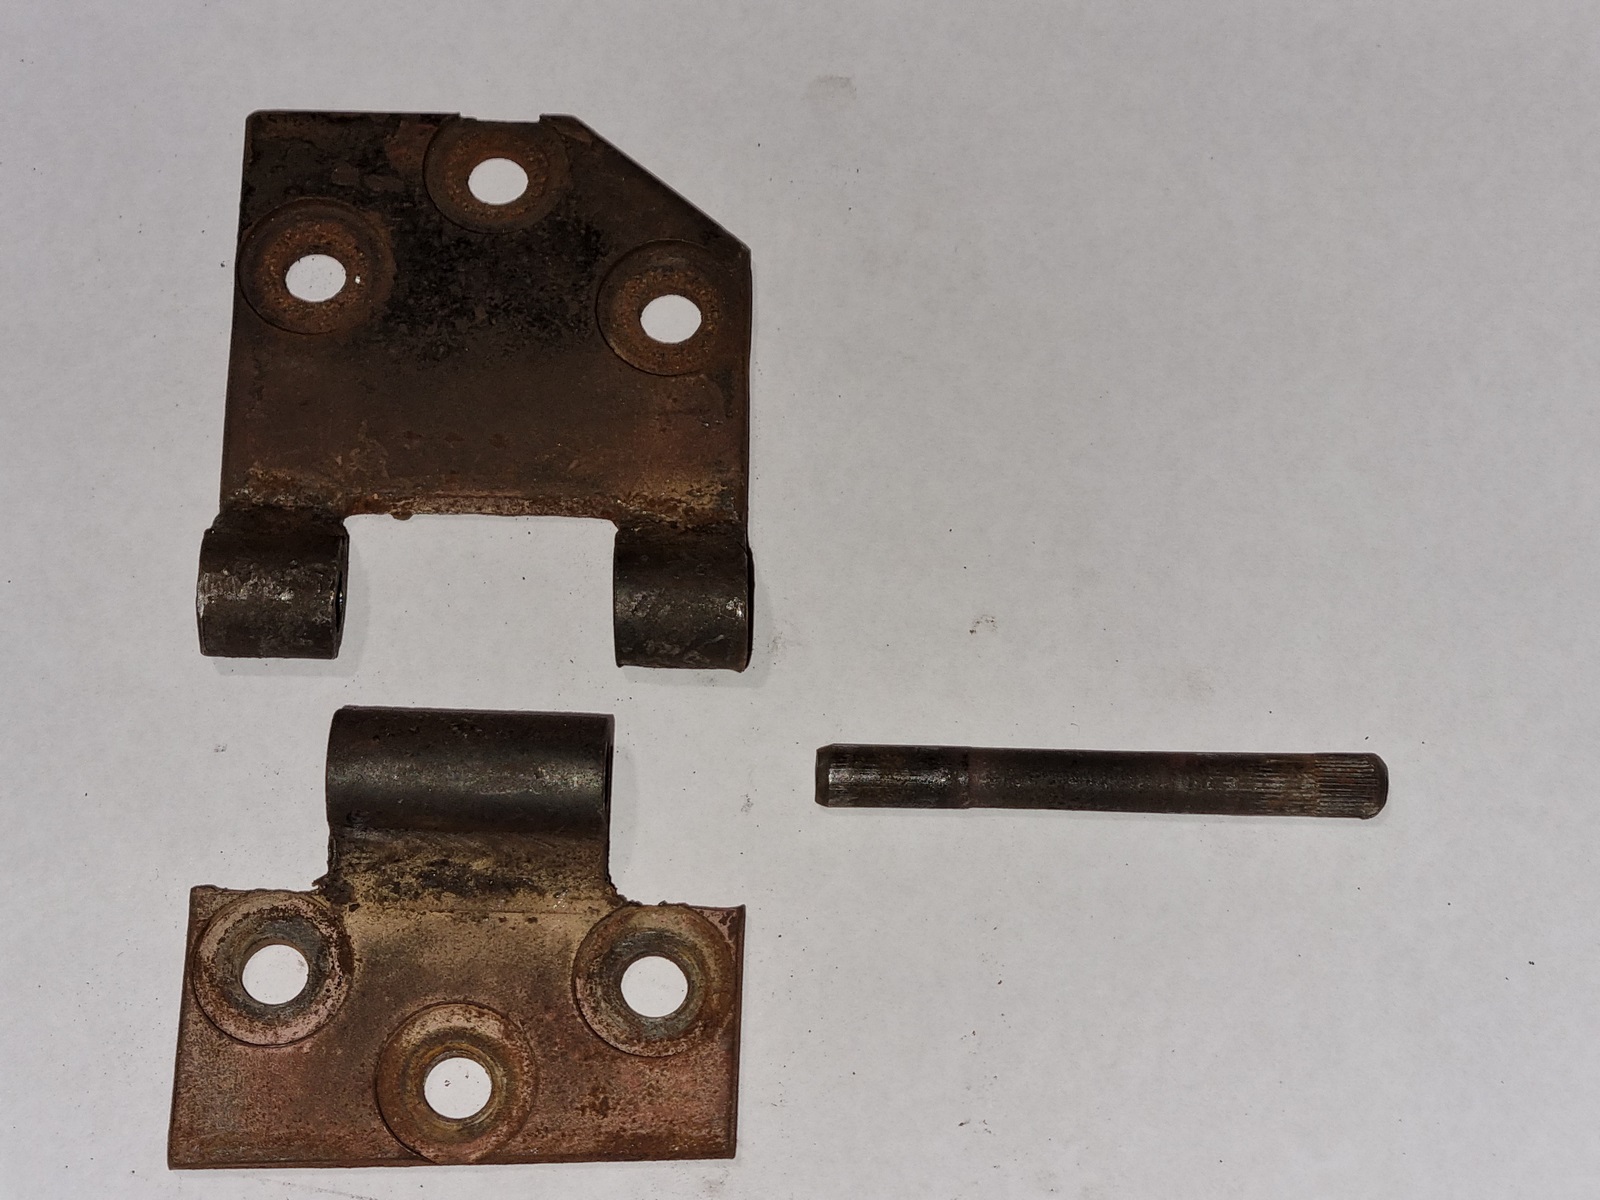
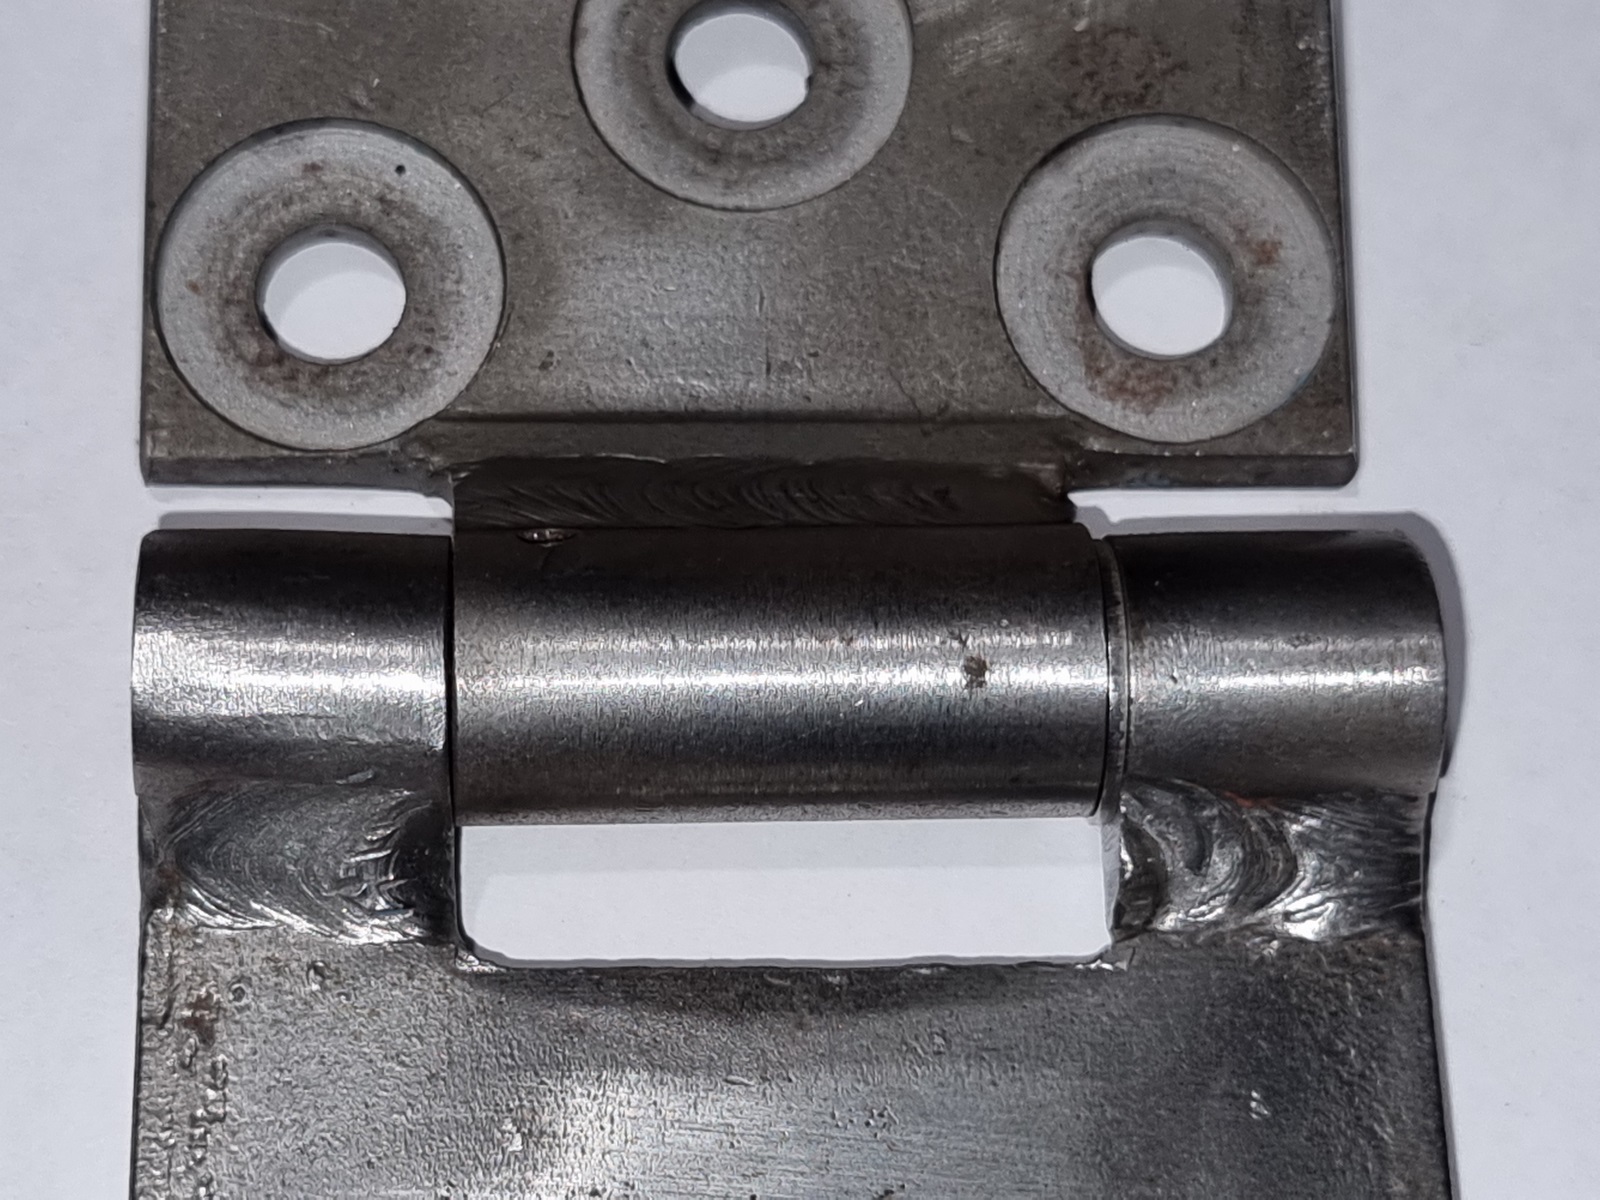
Dismantle the hinge by pressing out the worn hinge pin. This is not a easy job as the pins are often rusted sold and or broken into several pieces. You will probably need an oxy acetylene set to get the pins free.
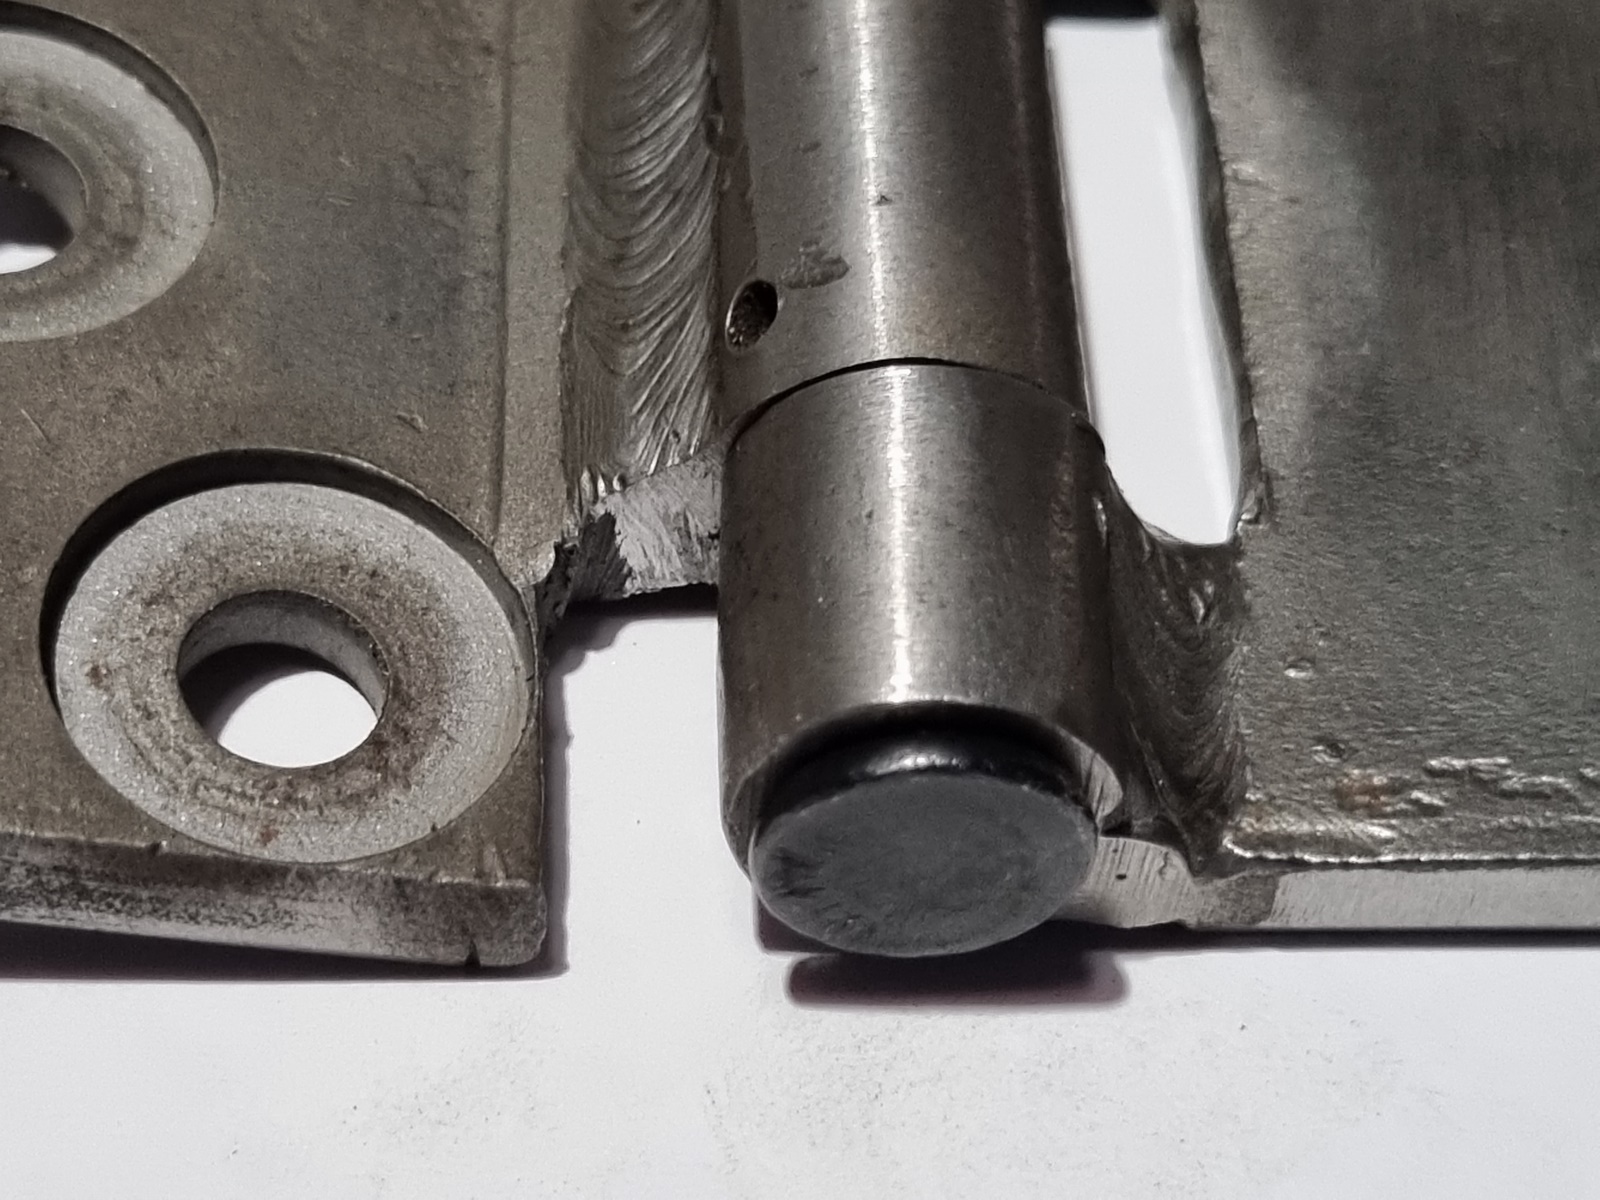
Look closely at the end of the pin, one end is splined. Do not press on this end or you will ruin the hinge. Press from the other end. The splined end is typically at the top of the hinge when fitted
Step #2
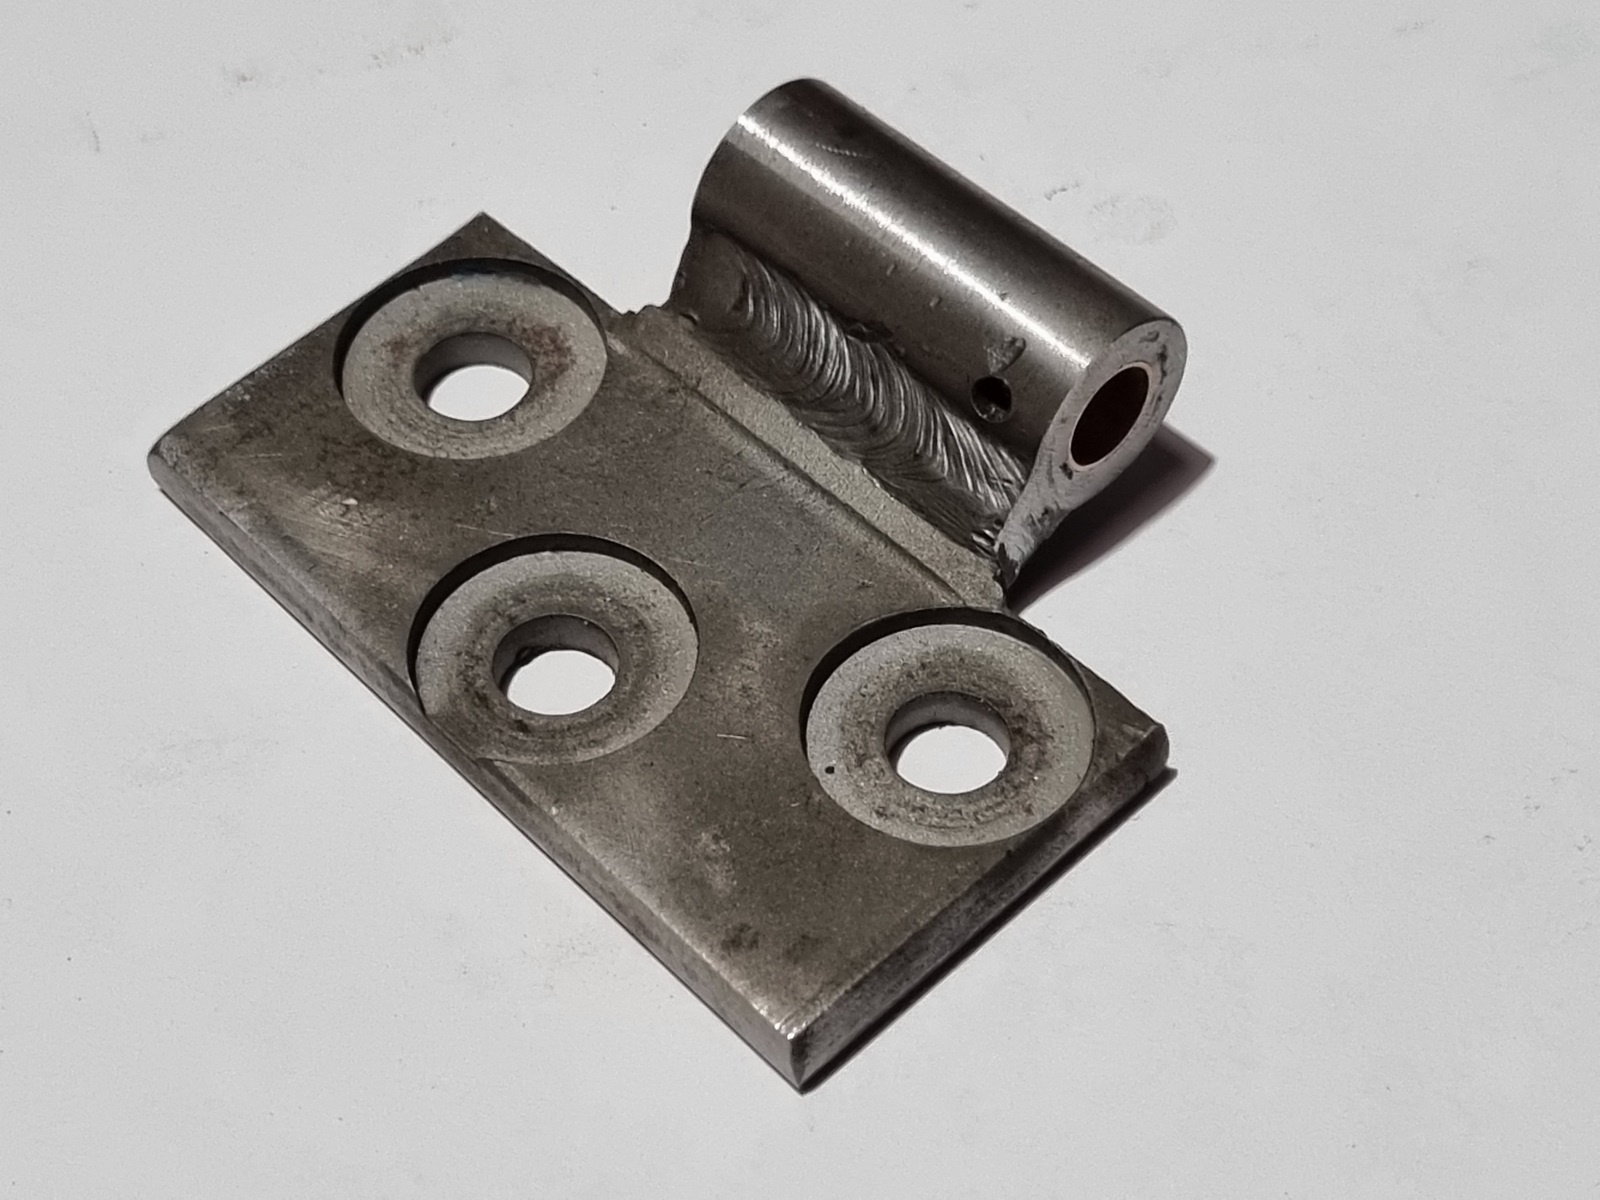
Clean up the two hingle parts. A combination of a sandblaster and a wire wheel will give the best results.
Step #3
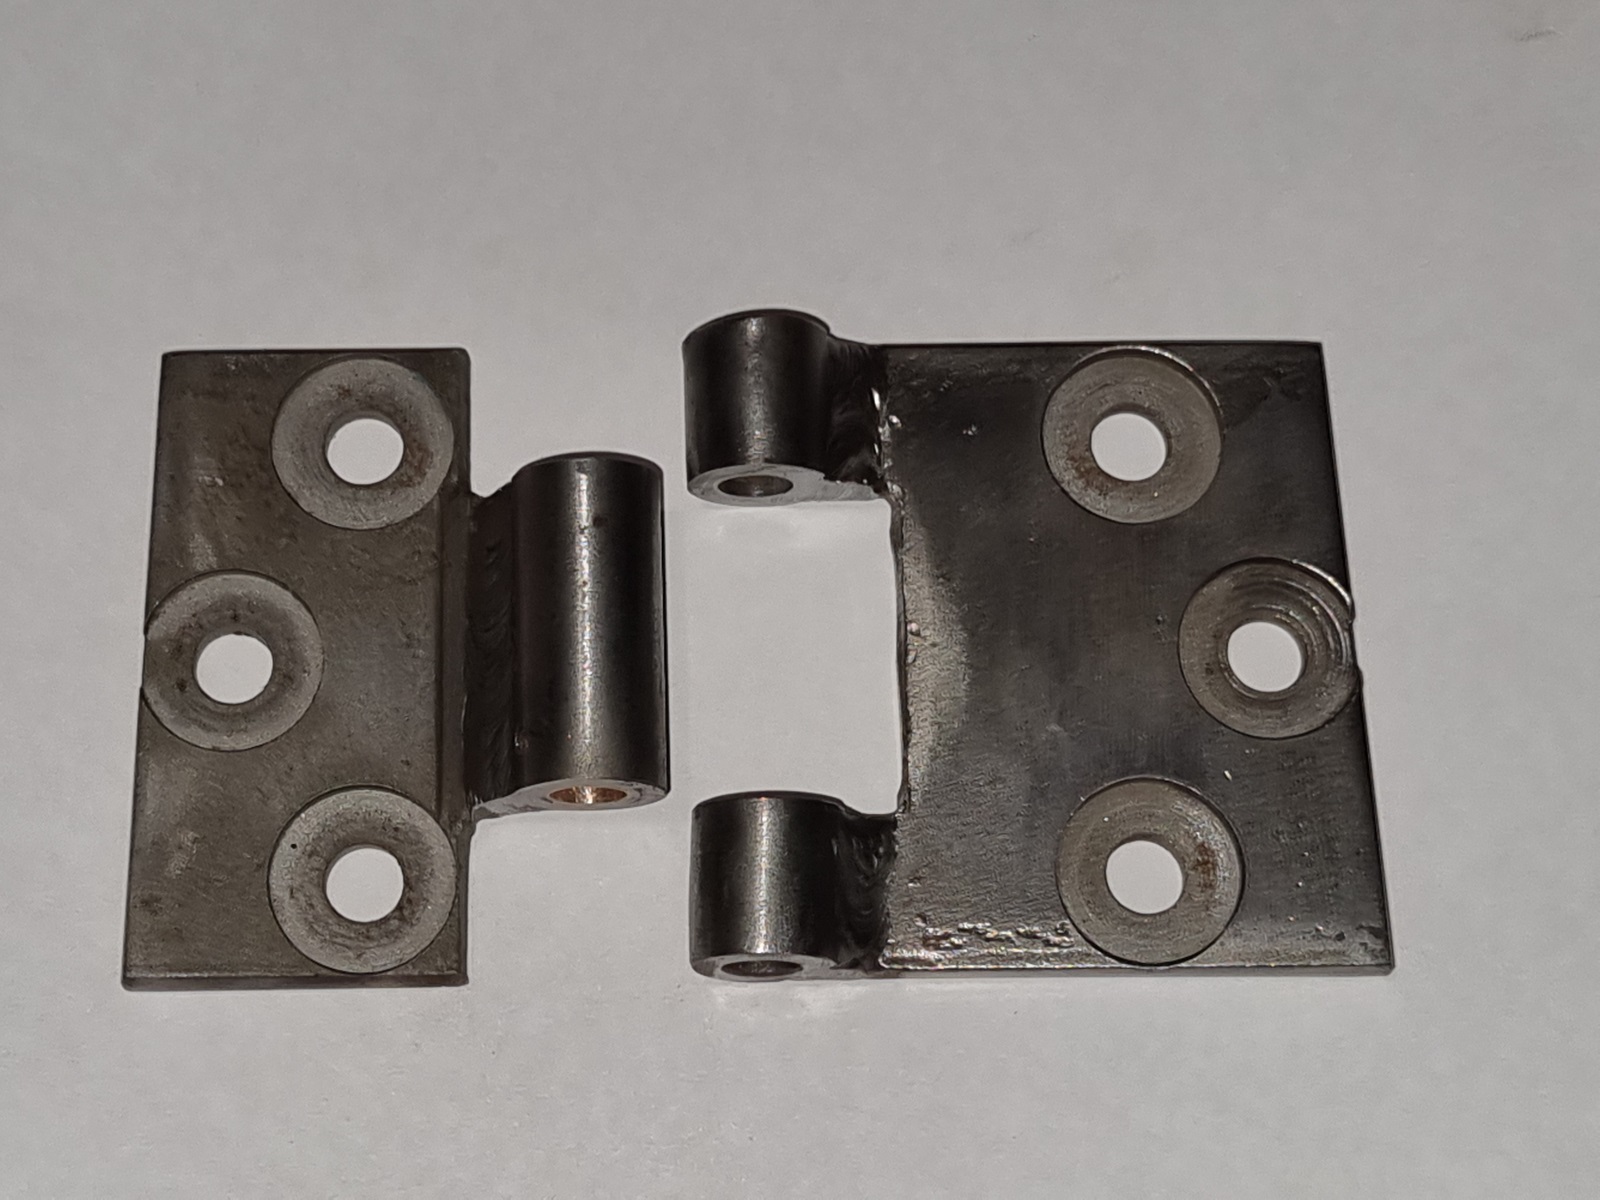
There will be some end float in the hinge because thay have typically been grinding on each other without any lubrication. A bit of careful filing to tidy the ends up so that a thin stainless steel or brass washer fits will remove most of the slop.
Step #4
If the piece that pivots on the pin is worn you may need to get them rebushed. I used K-Line valve guide sleeves which most engine machine shops can insert for you. Dont forget to redrill the oil hole
Step #5
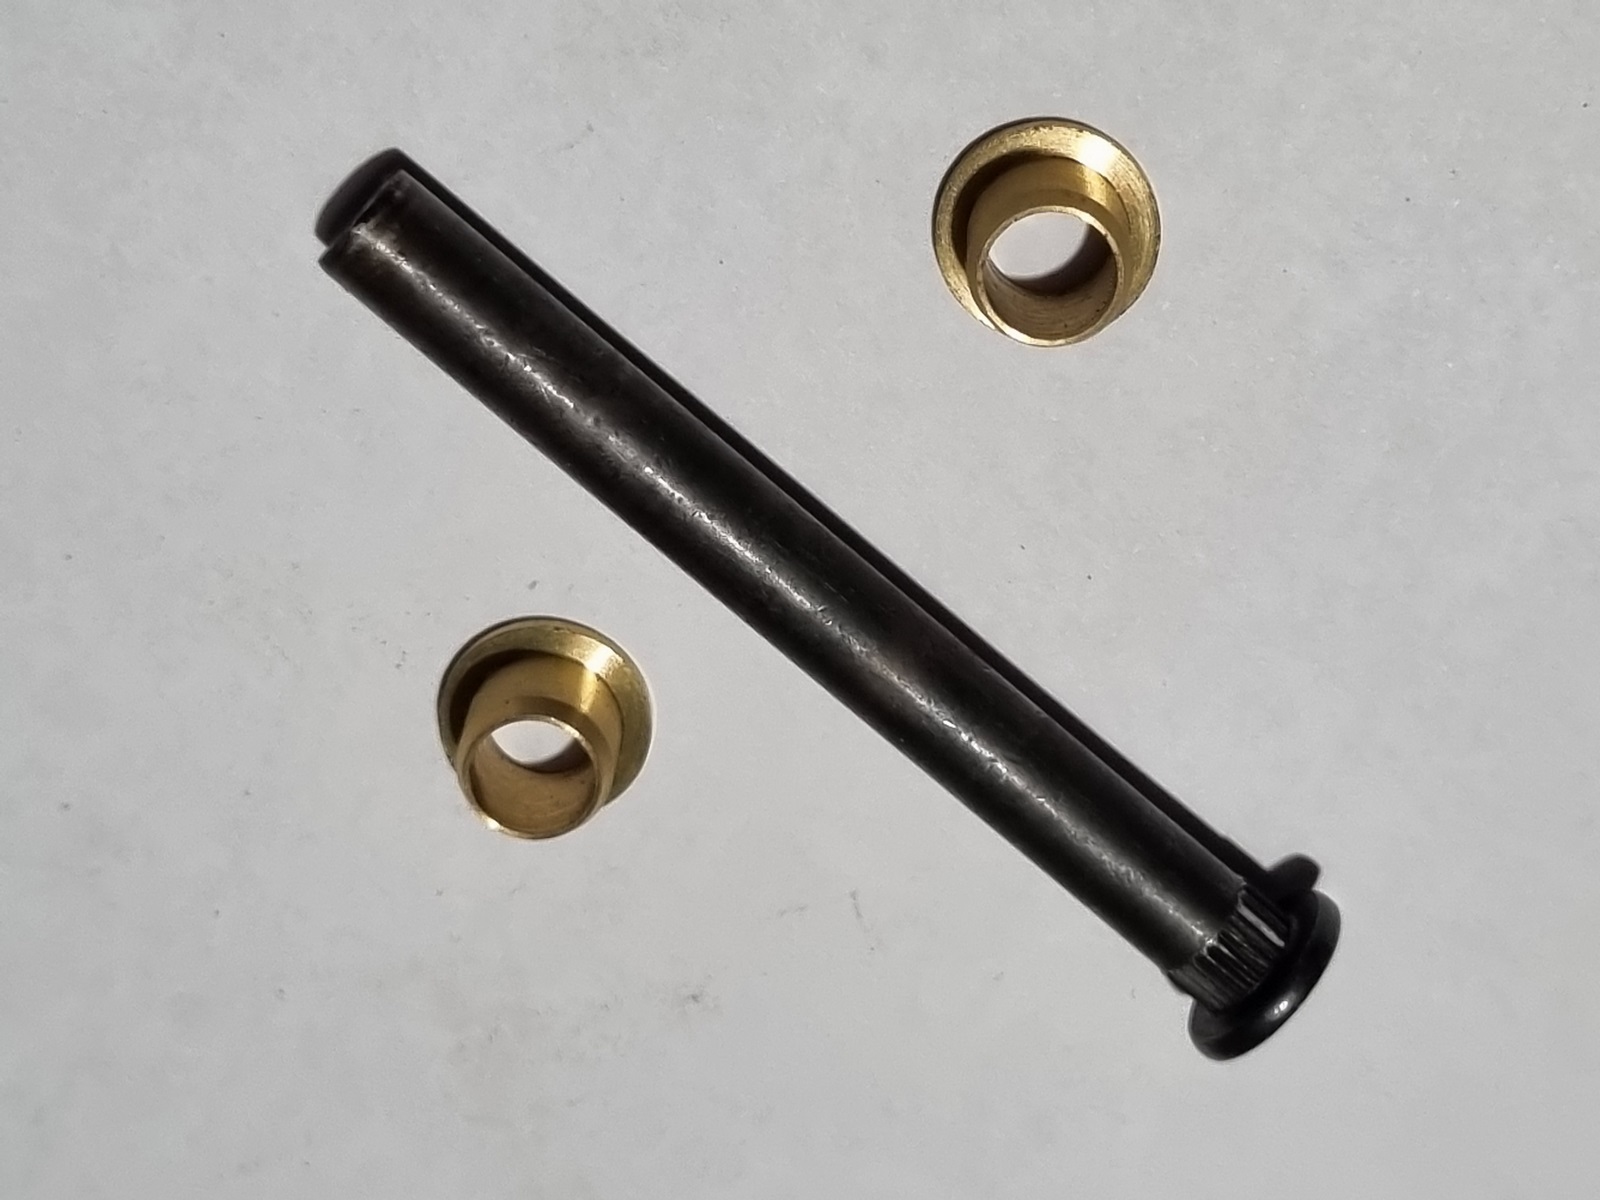
New hinge pins can be sourced from just about anywhere including e-bay as they are the same size as the front door on a Toyota Landcruiser FJ40, HJ45 or BJ40.
The Toyota Landcruiser pins are about 5mm too long but can easily be cut down to size. They come with little brass bushes that are not needed
I paid $26usd or $38aud for a set of 4 pins
Step #6
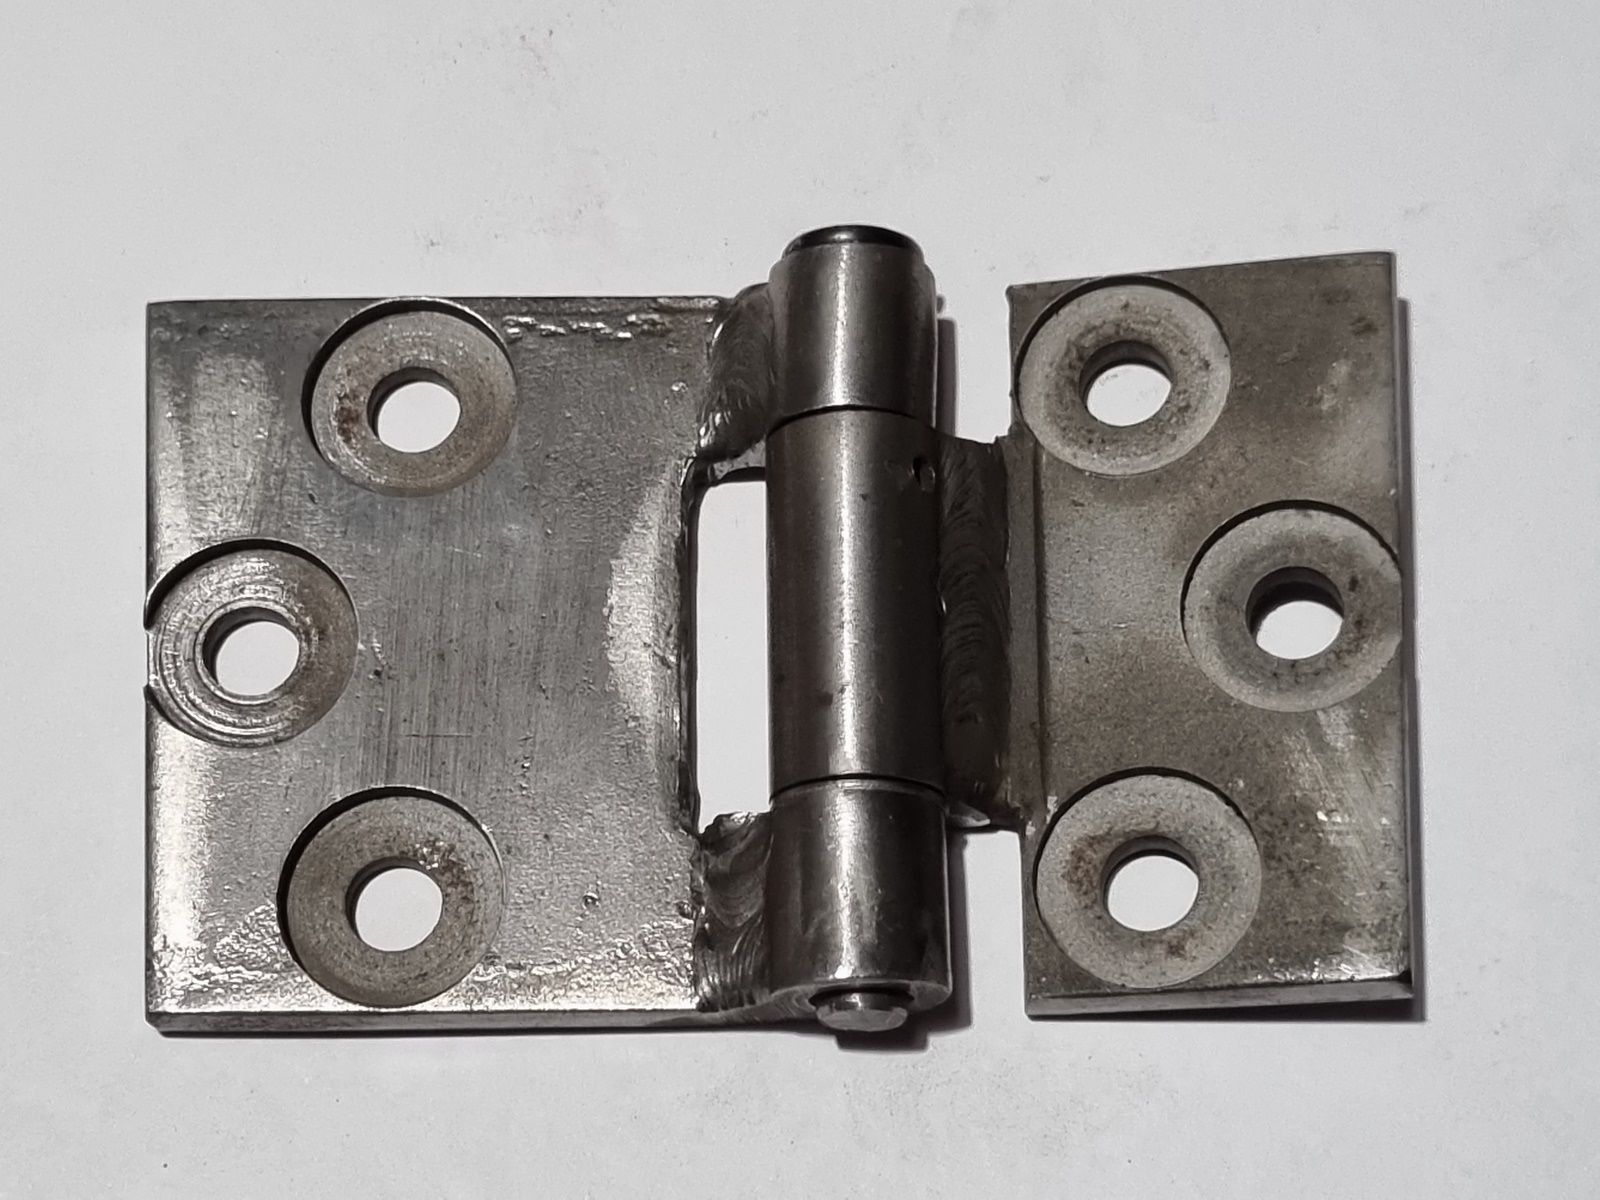
Press the new pin into place using a vice or a small press and you have near perfect hinges that swing freely without binding up